Pages

Monday, July 11, 2011

How We Used a Free Dresser

We have a typical brick bungalow, and with that comes smaller bedrooms.  On a good day, our bedroom is 11x12, and in those 132 square feet, we have a queen sized bed, two tallboy dressers and two dog beds.  You can do the math.  The wall to wall furniture was making me a little batty, especially when I had to crawl over the bed to get to my dresser if Andy was at his dresser.  Case and point...


So, I put my thinking cap on.  How could we get the same amount of storage with less furniture?  That's when I realized we were wasting some valuable real estate space...under the bed!  Up until now, it was only storing dust bunnies that had mated with Lucy's kamikaze hair, and an occasional sock or tennis ball (thanks to Katie).  Time to change that!  

So, I started the hunt for a cheap dresser.  And, when this dresser came up as a curb alert on Craigslist, I thought, what's cheaper than free?  


Photo from Craigslist, courtesy of the previous owners 

So I headed out quicklike and loaded up the drawers (I may or may not have left the rest of the chest on the curb waiting for the garbage truck).  

My first step was to figure out how I would make the drawers move easily, and decided on casters.  The drawer fronts were about 7 inches tall, and I had about 8 inches of clearance, so I decided on 5/8" roller ball casters and attached them to all four corners of all four drawers.  It's a good idea to drill first to avoid wood cracking when you put the screws in.  The casters were about a dollar each, and we got 16.


Then we moved on to the fronts.  The drawers weren't quite wide enough enough to fill up the entire length of the bed, and I really wanted a custom made, perfect fit.  We decided we'd need to put a false front on each of the drawers, so we cut four 7.5" x 40" (the length of the bed is 81") plywood pieces to attach to the fronts.  I figured that was enough clearance on all sides, but kept the custom look I was going for.  The plywood was $10, and we got two free cuts from the store.

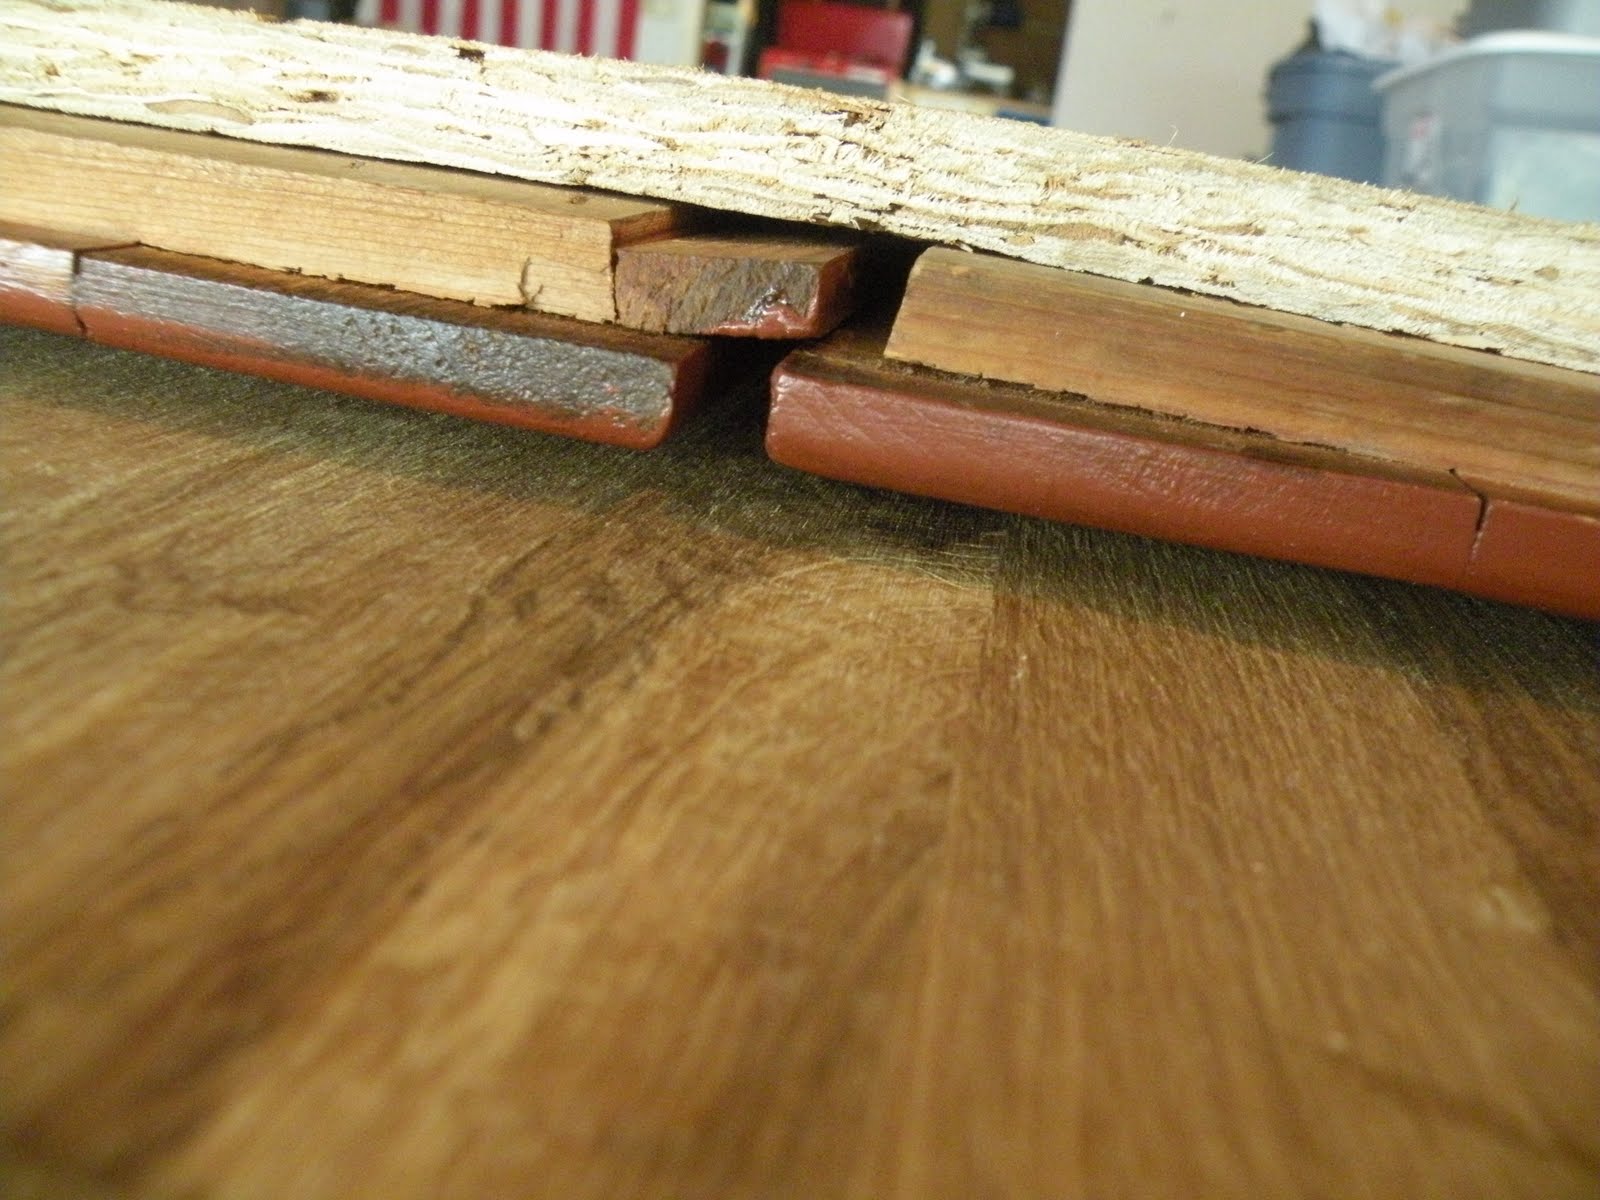
But this is when it gets interesting.  We were getting ready to attach the fronts (we were going to use a nail gun) when we realized the front was coming off of one of the drawers.  I took a peek in and realized the fronts were plastic!!!  So we pried them off and were left with perfect boxes, only we had some staple rements sticking out.  Andy took the wire cutters to them and clipped them as close to the wood as possible.


We then finished them off with a hammer to make the fronts as flush as possible.  I took one of the drawers inside to figure out the placement of the false fronts so that everything would roll smoothly and then got to work attaching them.  

The actual drawer is centered on the false front at 15/16" from the top and 6.5" from each side.  We then got to work attaching the fronts to the drawers with Liquid Nails (we were going to use the nail gun, but lost all the thickness when we took the plastic fronts off) and clamped them all down.


After we took the clamps off, we felt confident with the bond was strong enough to hold up.  From there, I put on two coats of white semi-gloss paint and found the knobs (we went against staining because we were afraid we wouldn't get an exact match).  I really wanted to it to fit in with the rest of the room, so we went with wood knobs, just like on our dresser.  The knobs were $.68 each and each drawer has two knobs.

Once the knobs were on, we put them in place for a test run and they fit perfectly, and rolled beautifully!


We then got to work filling them up.  We decided to go with our heavy hitters, the stuff that takes up the most room...t-shirts and jeans.  


This is just my side, but Andy's side looks the same.  And yes, I have a problem with t-shirts.  I sleep in them and live in them during the weekends.  I'm ok with, Andy has learned to live with it.  

While we were in the process of relocating all the clothes, I took advantage of the opportunity to do my semi-annual clothing donation.  I ended up with three grocery bags!  Not bad, eh?  So, once all the clothes were moved from the second dresser to the first dresser, the closet, and the new underbed storage, we actually ended up with dresser real estate to spare, and this lovely space left on our wall.


Oh, I love the open space.  As Andy said, "I don't have to worry about running into a dresser!"  We actually have big plans for that wall.  While we gained some openness and floor space, we lost surface space the top of the dresser offered.  I'm planning on building some wall shelves and actually getting that mirror up on the wall.  We also bought a very sweet picture that reminds us of our sweet Lucy girl that will be going up.  


So what do you think?  Not bad for a roadside dresser, right?  And with all the supplies added up, we only spent about $30!  

Keep your eyes peeled; we'll be back soon with how that wall looks post-shelves!  

Friday, July 8, 2011

On The (L)edge...and fun with napkins

Remember when I gave a teaser about building new shelves for the kitchen, and that they would be red, just like our new garbage cabinet?  Well, they are done, and here they are!


Oh, I soooooo love them!  We used the plans by Ana White, which can be found here.  They are kind of a richer red than the cabinet, but that's because I took a bit of a different turn with these.  On the cabinet, I gave it two coats of red, sanded it, stained it with a dark stain, and then poly.  On the shelves, I gave them one coat of the red, sanded, stained and wiped off.  But I wasn't feeling enough brown. So, I took the stain and poly in one that I used on the cabinet top and gave them a once over with that.  They turned out really rich, and the bonus was that they were poly'ed!  

When it came time to hang them, oh the fun we had!  We already have two sets of these elsewhere in the house, and each time, we have simply screwed into a stud through the back support.  By the time we load them up with stuff, nobody will see the heads, so no problem.  Well, when we went to find a stud in this wall, we found there was one on the corner, and one about 16 inches out from the other corner.  No dice.  In the end, we punted and went for the anchors.   

The dishes on there are just some white ones I had from several years ago.  I have big plans to keep different dishes on a rotation, which will include my beloved Christmas dishes from Target and my China.  And maybe some not so dishy stuff along the way, just for fun.

While I love the simplicity of how the all white dishes look, I wanted to have some fun with napkins to see if I could get a splash of color up there.  So, I raided up all my napkin sets (and if you've seen how our basement looks these days, you'll understand what an undertaking it was to find them) and got to work...

First up, Yellow napkins from Pier One:


Next up are the punchy, vintage-inspired Floral napkins I got on clearance from Home Goods...


And last, but not least, are these cocktail napkins from Crate and Barrel...


And then I decided to get really wild and sub water goblets for the mugs...


But in the end, I went back to the mugs.  I think out of all the napkin options though, I like the floral ones the best.  As my cousin Gabby would say, they are Super Duper Fun!  

How about you?  Which ones do you like best?  Or would you not put any up?  Or would you go with the goblets?  Perhaps you aren't a dishes person at all and would put pictures and figurines up there instead.  Lots of questions...go ahead and leave your answers in the comments!  I'd love to hear (or see) who's reading this blog! 

Wednesday, July 6, 2011

Take a Chance on Me!

I think my favorite part of doing these makeovers is that I can take something that gets passed over time and time again and turn it into something that would sell in a heartbeat.  It usually just takes a little time and elbow grease (and usually paint of some variety), but that's the fun part!  Kind of like when we bought this house. It had been passed over for well over a year.  It needed to be updated badly, but that's what excited us about it--we got to make it our own!

Well, today's project is no different.  I first saw this lantern a few weeks ago and instantly loved it, but was not wild about the brassy color.


It was very dated, and I wasn't sure that I could tear it apart to refinish it, so I passed it over.  And I passed it over the following visit, and the following visit.  The last time I was there, they were having a 1/2 off special of gray tags.  Originally priced at $5, it was now $2.50, and I felt like I could take a chance.  It's like it was singing, Take a Chance, Take a Chance, Take a  Cha-Chance, Take a Chance on MEEEE!  Except I wasn't in Greece, and it wasn't wearing sequined bell-bottoms.  (Editor's note: this is from Mamma Mia! and not Grease! as Andy thought)  I couldn't refuse.

Now here's where things get really interesting.  I had a coupon for buy four items and get the fifth item free.  And if you know me, I had more than five items.  I asked her if I could use the coupon.  She said yes, but the most expensive item must come off, and that would be the lantern.  

Come again?  That's what she said?  

Umm okay.  Usually these sales work with the least expensive item being free (which was a .50 candlestick).  But she seemed to know what she was doing, so I walked out of there with my new freebie lantern.  

Once I got it home, I gave it a once over and discovered the little pegs on the bottom were merely attached by screws in on the backside, and the top twists off like a jar.   Easy enough!  We landed on Oil Rubbed Bronze, the same color I talked about here, for the new color (Red was also a front runner).  

So here he is, all torn apart (the glass part and screws were put aside for cleaning and safe keeping.


And here we are after the first coat.  


After a couple more coats, I carefully put Humpty Dumpty back together again and ended up with this knockout...


Andy might have been more impressed than I was when all was said and done.  Can I just say I cannot WAIT to get our fireplace mantle and surround redone so I have a place for him to live and for all to enjoy?!?  


I'm thinking we could get a flameless pillar candle to put in there, since it's all sealed up and would not allow for a regular candle.  Oh, and think about how cool he'll look at Christmastime when I get him all dressed up for the holidays!  I'm salivating over the possibilities!  Love, love, love!  

Now, if we could just started on that fireplace...

Monday, July 4, 2011

The name is Red...Farmhouse Red

Happy Independence Day everyone!  We have some History Channel special going and probably will most of the day.  I think Andy is planning on washing the cars, and I am sure I will busy myself with some project.  But you didn't stop over here to find out how we are spending the day.  So, on to the project!

The story starts with the day I found this gem in the store for $10...


Solid wood, vintage look, good size (about waist height), and a doable project.  Plus, I had been pining over this project by Katie Bower and was just waiting for my piece of red furniture to come along.  It took me a while to figure out where I'd use it, but I did and so I snatched it up and brought it home with me.  It found it's new home here:


To house this hot mess:


Much better already, right?  It was, but it needed some work.  The finish was, shall we say, yucky.  Plus, we'd need to reconfigure the doors to allow the garbage can to pull out without having to open both sides.  Also, the garbage didn't pull out very easily.  Oh, the wheels began a turning.  But first, I had to get that finish up to par.  

I started by sanding down the top and then applying two coats of Minwax Polyshades in Antique Walnut Gloss...


And went from this:


To this:


So much better!  The stain settled into the kicks and dings the top had acquired over time and gave it that old look I love.

Now, onto the body of the cabinet.  I opted not to sand but to just put on the paint.  This is where things get interesting.  The color we had selected was not doing it for me.  I was going for Farmhouse Red--a muddy, dark, red color.  This color was full on Salmon Pink.  100% the wrong color.  I gave it two coats and let it dry but no dice.  At this point, I headed back out to the store and picked up a couple test pots of Red Chili Pepper by Valspar.


I could tell by the first coat that this was what I had imagined all along.  So, the cabinet got two good coats, time to dry, and then a light sanding with 220 grit paper.  To give it the Vintage Farmhouse look I desired, I went back over it with Minwax Jacobean stain. 


Oh, you can't see the label?  Let me explain.  In the process of discovering that the first color was the wrong color, I kicked the can of stain over.  Totally by accident, not out of frustration.  But frustration did ensue after that.  Most of it ended up on the garage floor, but some of it was on my leg, my socks, my shoes, and even less in the can.  There was enough left though to complete the project. 

Once I put a quick swipe of stain on the cabinet (quickly followed by a wet cloth), I ended up with the following:


Yeah, they do look like two different colors.  It's really somewhere in between the two (click the pictures to enlarge).  

Now, let me explain how we reconfigured the doors.  We decided we wanted a pull out option, so our first step was to fuse the doors together.  We laid them down with the right spacing and attached a piece of plywood with the nail gun.


We then attached the drawer rollers, first to the inside of the cabinet:


And then to the shelf that the garbage can would sit on:


These come in packages of two.  We used 16 inch, medium weight drawer glides.  They were $4 at Lowes for a set.  The last thing we did was attach supports to the door and shelf:


You can't see the shelf here, but imagine it propped up along the upright piece of the brace.  We just used metal braces, also from Lowes.  I think they were $6 each.  So once we had that done, we brought the whole thing in the house, and set it up...


I'm having a hard time getting a picture that shows the rich red this really is, but this is pretty close.  And here is an 'in-use' shot...


We might need a slightly smaller garbage can, but for the time being, it works.  We also need to get the handles attached to the corners of the now-faux cabinet doors to match the rest of the kitchen hardware, and put a weight on the back of the shelf (its front heavy right now). You can see pictures of the rest of our kitchen here and here.  Its amazing how the door/drawer style matches our current cabinets to a T.  

Can I just say I L-O-V-E this cabinet?!  It turned out exactly like I thought it would, and it plays into the Vintage Farmhouse look I'm shooting for in the kitchen.  Its a great pop of color in the light kitchen and helps pull in the dark color wood in the dining room furniture.  I have more plans for this color, so stay tuned, but in the meantime, here are a couple more things I have picked up for cheap to play into my VF theme...


These sit above the double window in the kitchen.  The double window is right above the new cabinet.  Picked these up for $1 each.


Remember what I said about roosters?  These fall into Vintage Roosters, so they are acceptable.  A set of four canisters, they hold dog treats (flour), candy (sugar), my work laptop cords (coffee), and pens (tea).  I want to say I paid $20 for the set.  

Did you happen to see that wire basket on the top of the new cabinet?  I picked that up for about $1.50, and initially bought it to house Christmas balls during the holidays, but I am kind of thinking it's also Vintage Farmhouse-y and now on the hunt for a couple dozen fake eggs to put in it.  

This project for sure stretched us.  Retro-fitting a piece of furniture isn't the easiest thing to do, but we made it work (with a lot of measuring, thinking, and time).  When it was all said and done, Andy said "That is beautiful!"  Now I call that a successful makeover! 

Saturday, July 2, 2011

A-Round We Go

So, do you remember when I gave you a sneak peak of these guys?


Three round, metal mirrors.  In three different colors of metal--Gold, Silver, and Bronze.  These colors might look good next to an Olympians' medal case, but not in my house.  But, I could see they had potential in a different color.  I debated and debated on whether or not to get them.  I was trying to visualize where I would put them, but couldn't settle on a place.  So I left.  In fact, I left the store twice without them!  I should add here that the merchandise in this thrift store goes fast...they have good stuff.  So, imagine my surprise when I went back a third time and they were still there.  I declared it meant to be, and in my cart they went.  

When I got home, I gave them a quick coat of primer (just to make sure the new paint would stick) and then gave them a few thin coats of this stuff:


This is my favorite spray paint lately.  It gives a really cool bronze luster when the light hits it right.  This shade has been my anchor color in the living room.  Not sure if 'anchor color' is really a design phrase, but that's my story and I'm sticking to it!

So anyway, after I painted them, it took me about three weeks to figure out where they would go.  But last weekend, we made a couple new shelves for our living room to go in Gramma's Corner.  I knew once we got those shelves up that I needed to think outside the box and just set them on the shelf.  So, without further adieu, here they be:


Now that these pictures are on here, I can see the reflection of all the other unfinished projects in the rest of the room...as in no crown moulding, and empty picture frames on the other shelves across the room.  Here's my excuse...the motivation has yet to come upon me to finish those other projects.  You understand, right?  Right.  Ok, now on to the tour of the other items on the shelves...


I'm a sucker for apothecary/candy jars, so when I found this one for $3, I had to have it.  And here she sits, with some potpourri to show off her curves.


I love this article so much I framed it!  It's titled 5 Things I Have Learned from my Pets.  It was in one of my issues of Real Simple.  I love that magazine.  I keep every back issue.  I'm ok with it, and Andy has learned to be ok with it.  Ok back to the article...if you are interested in reading what it has to say, you can click here.  We particularly like the phrase, "You should have a cupcake for that!" 


This little guy I picked up in Goodwill for a couple bucks.  No story behind him, he's just cute and plays into my obsession with animals.  Moving on...


I dearly love this mommy giraffe and baby giraffe brass set.  At one point, I was going to strip the lacquer off and tarnish the bronze (you can kind of see where that backfired when I tried a homemade method of doing so) but now that they are up there, I'm kind of liking the brass color.  Thoughts?


Speaking of thoughts...this also came from Real Simple.  They have several of these in each issue, and I've made a habit of tearing them out and stockpiling them for uses such as this.  It's a girl on a bike riding through a city park and it says: 

"Having money is rather like being a blond.  It is more fun but not vital. --Mary Quant
So now, here's what the corner looks like from a couple angles...


I'm liking it!  It's a fun corner and it plays off all the other colors in the room.  The shelves are from plans from Ana White and can be found here.  No joke, they really are $10 ledges, and a snap to put together.  We've now put together two sets and have plans for at least one more set for the kitchen (that's a sneak peak, by the way!)  Once they are together, I paint them white and give them a found-style finish by distressing them and then using stain to age them.

I'd like to leave you with a wish for a Happy 4th of July!  Let's not ever forget the sacrifices made for the freedom we celebrate.  God Bless America!